How to Sign PDFs Using Digital Certificates in Python
Introduction
In this guide, we will walk through how to sign PDF documents digitally using Python. We will use pdfsignify.com, an API that allows you to sign PDFs with a digital certificate without having to manually handle the complex low-level PDF signing process.
Digital signatures help prove the authenticity and integrity of a PDF document. To sign a PDF, you need a digital certificate file, usually in
.pfx or .p12 format, and the password for that certificate.Part 1: Setting Up the Python Project
First, create a new folder for the Python project. This example will use a simple Python script that reads a PDF file and a digital certificate, sends them to PDF Signify, and saves the signed PDF response.
Copy
mkdir python-pdf-signing
cd python-pdf-signing
Step 1: Create a Virtual Environment
Create a Python virtual environment to keep the dependencies isolated:
Copy
python3 -m venv venvActivate the virtual environment:
Copy
source venv/bin/activateOn Windows, use:
Copy
venv\Scripts\activateStep 2: Install Required Dependencies
We will use the
requests library to send the PDF and certificate to the API.Copy
pip install requestsYou can also create a requirements file:
Copy
pip freeze > requirements.txtPart 2: Setting Up PDF Signify
Before writing the Python code, you need a PDF Signify account and API credentials. These credentials are used to authenticate your requests.
Step 1: Create an Account or Log In
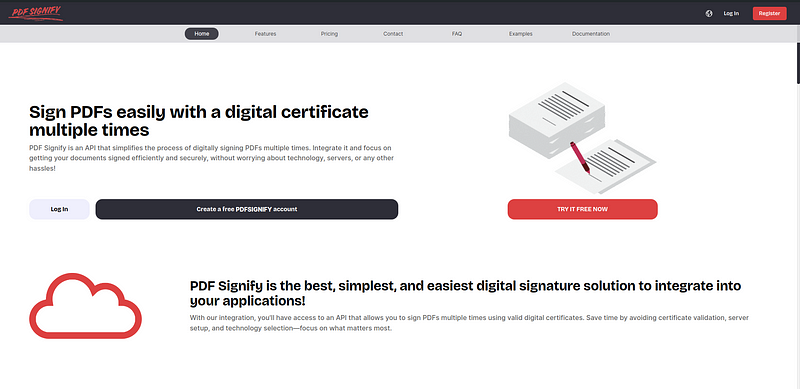
Go to pdfsignify.com and create an account or log in if you already have one.
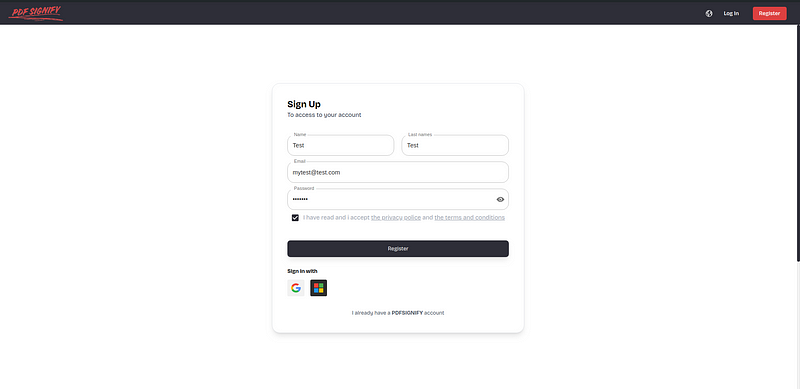
You can register manually or use Google/Microsoft login if available.
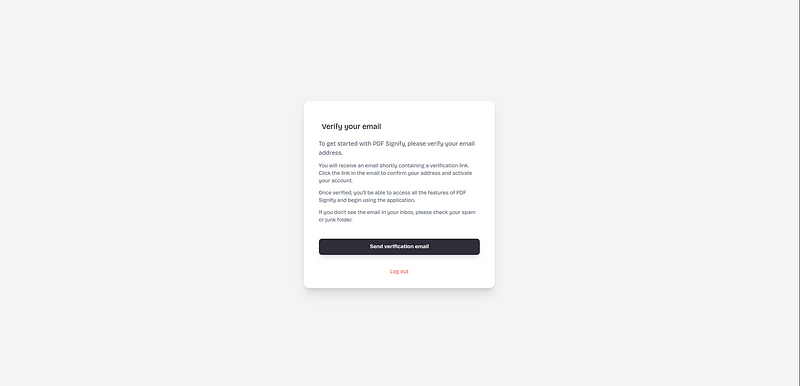
Step 2: Verify Your Email
After registering, verify your email address from the verification email.
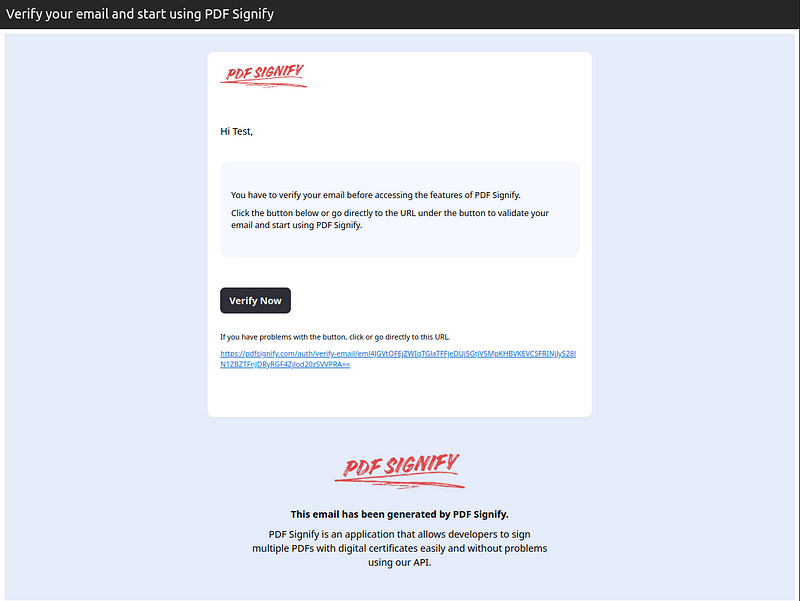
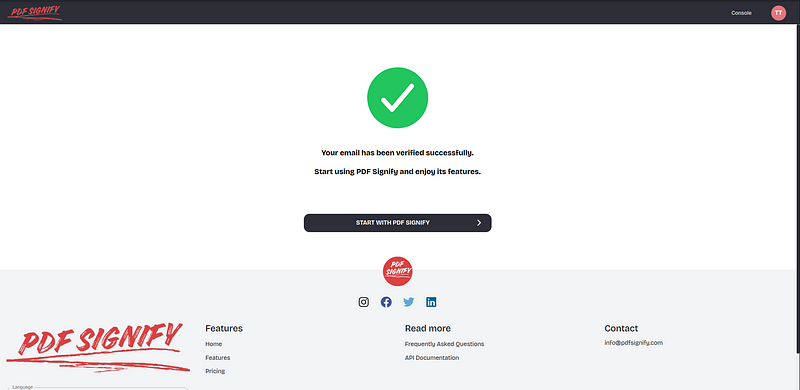
If you do not receive the email, check your spam folder or request another verification email.
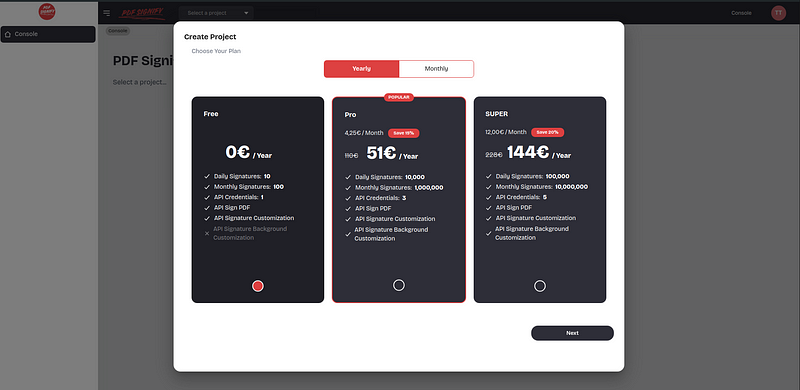
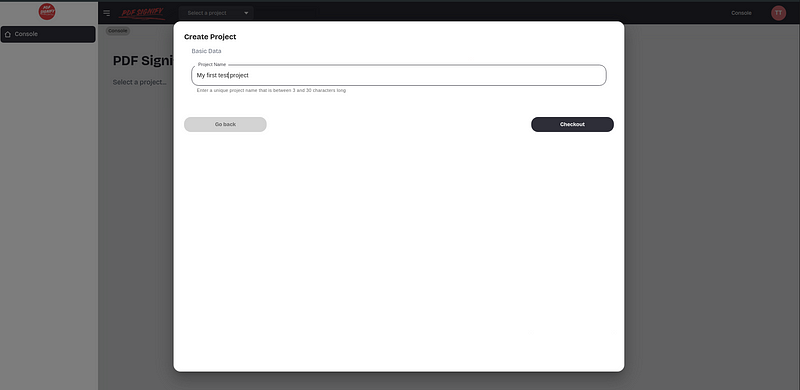
Step 3: Create a Project
Inside the PDF Signify dashboard, create a new project. This project will contain your usage limits and API credentials.
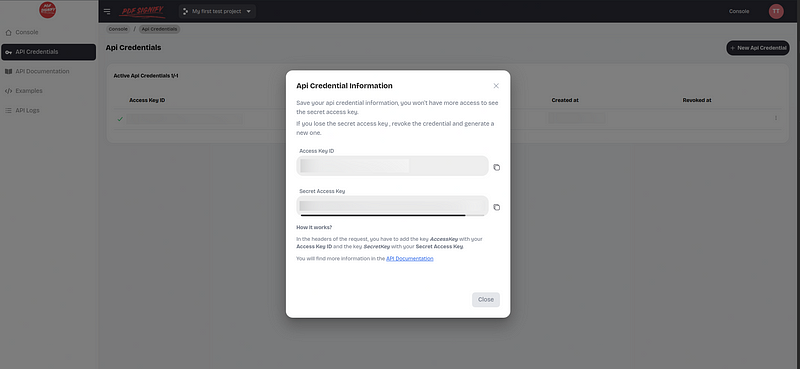
Step 4: Create API Credentials
Go to the API Credentials section and create a new credential pair.
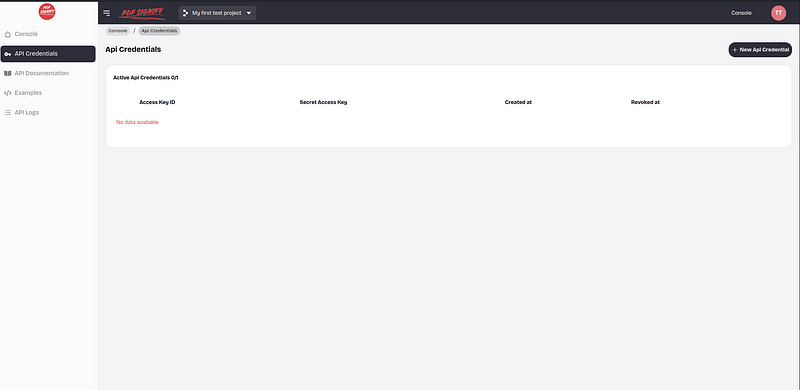
You will receive an Access Key and a Secret Key. Save the secret key securely because it may only be shown once.
Part 3: Prepare the Files
In your project folder, place the PDF you want to sign and your certificate file. For this tutorial, we will use these filenames:
Copy
python-pdf-signing/
├── sign_pdf.py
├── filepdf.pdf
├── certificate.pfx
└── venv/
The certificate can be a
.pfx or .p12 file. You also need the certificate password.Part 4: Sign the PDF with Python
Step 1: Create the Python Script
Create a new file called
sign_pdf.py.Copy
touch sign_pdf.pyStep 2: Add the Basic Signing Code
This script sends the PDF, certificate, and certificate password to the
/api/v1/sign-pdf endpoint.Copy
import requests

API_URL = "https://api.pdfsignify.com/api/v1/sign-pdf"

ACCESS_KEY = "MY_ACCESS_KEY"
SECRET_KEY = "MY_SECRET_KEY"

CERTIFICATE_PATH = "certificate.pfx"
PDF_PATH = "filepdf.pdf"
CERTIFICATE_PASSWORD = "YOUR_CERTIFICATE_PASSWORD"

headers = {
    "AccessKey": ACCESS_KEY,
    "SecretKey": SECRET_KEY,
}

files = {
    "certificate": ("certificate.pfx", open(CERTIFICATE_PATH, "rb"), "application/x-pkcs12"),
    "pdf": ("filepdf.pdf", open(PDF_PATH, "rb"), "application/pdf"),
}

data = {
    "certificatePassword": CERTIFICATE_PASSWORD,
}

response = requests.post(API_URL, headers=headers, files=files, data=data)

if response.status_code != 200:
    print("Error signing PDF")
    print("Status code:", response.status_code)
    print("Response:", response.text)
    exit()

with open("signed_filepdf.pdf", "wb") as signed_pdf:
    signed_pdf.write(response.content)

print("PDF signed successfully: signed_filepdf.pdf")
IMPORTANT: Replace
MY_ACCESS_KEY, MY_SECRET_KEY, and YOUR_CERTIFICATE_PASSWORD with your real values.Step 3: Run the Script
Copy
python sign_pdf.pyIf everything is correct, a new file called
signed_filepdf.pdf will be created in your project folder.Part 5: Improved Python Version
The previous example works, but it is better to use context managers so files are closed automatically.
Copy
import requests

API_URL = "https://api.pdfsignify.com/api/v1/sign-pdf"

ACCESS_KEY = "MY_ACCESS_KEY"
SECRET_KEY = "MY_SECRET_KEY"

CERTIFICATE_PATH = "certificate.pfx"
PDF_PATH = "filepdf.pdf"
CERTIFICATE_PASSWORD = "YOUR_CERTIFICATE_PASSWORD"

headers = {
    "AccessKey": ACCESS_KEY,
    "SecretKey": SECRET_KEY,
}

data = {
    "certificatePassword": CERTIFICATE_PASSWORD,
}

with open(CERTIFICATE_PATH, "rb") as certificate_file, open(PDF_PATH, "rb") as pdf_file:
    files = {
        "certificate": ("certificate.pfx", certificate_file, "application/x-pkcs12"),
        "pdf": ("filepdf.pdf", pdf_file, "application/pdf"),
    }

    response = requests.post(API_URL, headers=headers, files=files, data=data)

if response.status_code != 200:
    print("Error signing PDF")
    print("Status code:", response.status_code)
    print("Response:", response.text)
    exit(1)

with open("signed_filepdf.pdf", "wb") as signed_pdf:
    signed_pdf.write(response.content)

print("PDF signed successfully: signed_filepdf.pdf")
Part 6: Customize the Signature
PDF Signify allows you to customize the visible signature. You can change the page, position, size, message, date format, timezone, reason, location, contact information, and more.
Step 1: Signature Position and Appearance
Copy
data = {
    "certificatePassword": CERTIFICATE_PASSWORD,
    "signaturePageAppearance": "-1",  # -1 means all pages
    "timezone": "UTC",
    "signatureMessage": "Digitally signed by the user",
    "signatureDateLabel": "",
    "signatureDateFormat": "Y-m-d H:i:s",
    "signatureHeight": "100",
    "signatureWidth": "150",
    "signatureYPosition": "100",
    "signatureXPosition": "180",
}
Step 2: Add an Image Near the Signature
You can send an image using the
signatureImage parameter.Copy
SIGNATURE_IMAGE_PATH = "signatureImage.png"

with open(CERTIFICATE_PATH, "rb") as certificate_file, open(PDF_PATH, "rb") as pdf_file, open(SIGNATURE_IMAGE_PATH, "rb") as signature_image:
    files = {
        "certificate": ("certificate.pfx", certificate_file, "application/x-pkcs12"),
        "pdf": ("filepdf.pdf", pdf_file, "application/pdf"),
        "signatureImage": ("signatureImage.png", signature_image, "image/png"),
    }

    response = requests.post(API_URL, headers=headers, files=files, data=data)
Step 3: Add a Background Image
If your plan supports it, you can use
signatureBackgroundImage to use an image as the signature background.Copy
SIGNATURE_BACKGROUND_IMAGE_PATH = "backgroundImage.png"

with open(CERTIFICATE_PATH, "rb") as certificate_file, open(PDF_PATH, "rb") as pdf_file, open(SIGNATURE_BACKGROUND_IMAGE_PATH, "rb") as background_image:
    files = {
        "certificate": ("certificate.pfx", certificate_file, "application/x-pkcs12"),
        "pdf": ("filepdf.pdf", pdf_file, "application/pdf"),
        "signatureBackgroundImage": ("backgroundImage.png", background_image, "image/png"),
    }

    response = requests.post(API_URL, headers=headers, files=files, data=data)
Part 7: Modify PDF Metadata
You can also send metadata fields together with the signing request.
Copy
data = {
    "certificatePassword": CERTIFICATE_PASSWORD,
    "pdfMetadataAuthor": "AUTHOR",
    "pdfMetadataKeywords": "keywords,keyword2",
    "pdfMetadataTitle": "MY DOCUMENT",
    "pdfMetadataSubject": "EXAMPLE DOCUMENT",
    "pdfMetadataCreator": "PDFSIGNIFY",
    "pdfMetadataProducer": "PDFSIGNIFY",
    "pdfMetadataCreationDate": "2024-01-01 10:00:00",
    "pdfMetadataModificationDate": "2024-01-01 10:00:00",
}
You can also use the
/api/v1/set-pdf-metadata endpoint if you only want to change metadata without signing the PDF.Part 8: Complete Python Example
This is the complete Python script with signature customization and metadata fields.
Copy
import requests
from datetime import datetime

API_URL = "https://api.pdfsignify.com/api/v1/sign-pdf"

ACCESS_KEY = "MY_ACCESS_KEY"
SECRET_KEY = "MY_SECRET_KEY"

CERTIFICATE_PATH = "certificate.pfx"
PDF_PATH = "filepdf.pdf"
CERTIFICATE_PASSWORD = "YOUR_CERTIFICATE_PASSWORD"

OUTPUT_PATH = "signed_filepdf.pdf"

headers = {
    "AccessKey": ACCESS_KEY,
    "SecretKey": SECRET_KEY,
}

current_datetime = datetime.now().strftime("%Y-%m-%d %H:%M:%S")

data = {
    "certificatePassword": CERTIFICATE_PASSWORD,

    # Signature appearance
    "signaturePageAppearance": "-1",
    "timezone": "UTC",
    "signatureMessage": "Digitally signed by the user",
    "signatureDateLabel": "",
    "signatureDateFormat": "Y-m-d H:i:s",
    "signatureHeight": "100",
    "signatureWidth": "150",
    "signatureYPosition": "100",
    "signatureXPosition": "180",

    # PDF metadata
    "pdfMetadataAuthor": "AUTHOR",
    "pdfMetadataKeywords": "keywords,keyword2",
    "pdfMetadataTitle": "MY DOCUMENT",
    "pdfMetadataSubject": "EXAMPLE DOCUMENT",
    "pdfMetadataCreator": "PDFSIGNIFY",
    "pdfMetadataProducer": "PDFSIGNIFY",
    "pdfMetadataCreationDate": current_datetime,
    "pdfMetadataModificationDate": current_datetime,
}

with open(CERTIFICATE_PATH, "rb") as certificate_file, open(PDF_PATH, "rb") as pdf_file:
    files = {
        "certificate": ("certificate.pfx", certificate_file, "application/x-pkcs12"),
        "pdf": ("filepdf.pdf", pdf_file, "application/pdf"),
    }

    response = requests.post(API_URL, headers=headers, files=files, data=data)

if response.status_code != 200:
    print("Error signing PDF")
    print("Status code:", response.status_code)
    print("Response:", response.text)
    exit(1)

with open(OUTPUT_PATH, "wb") as signed_pdf:
    signed_pdf.write(response.content)

print(f"PDF signed successfully: {OUTPUT_PATH}")
Part 9: Check Certificate Password
PDF Signify also allows you to verify whether a certificate password is correct using the
/api/v1/check-certificate-password endpoint.Copy
import requests

API_URL = "https://api.pdfsignify.com/api/v1/check-certificate-password"

ACCESS_KEY = "MY_ACCESS_KEY"
SECRET_KEY = "MY_SECRET_KEY"

CERTIFICATE_PATH = "certificate.pfx"
CERTIFICATE_PASSWORD = "YOUR_CERTIFICATE_PASSWORD"

headers = {
    "AccessKey": ACCESS_KEY,
    "SecretKey": SECRET_KEY,
}

data = {
    "certificatePassword": CERTIFICATE_PASSWORD,
}

with open(CERTIFICATE_PATH, "rb") as certificate_file:
    files = {
        "certificate": ("certificate.pfx", certificate_file, "application/x-pkcs12"),
    }

    response = requests.post(API_URL, headers=headers, files=files, data=data)

print("Status code:", response.status_code)
print("Response:", response.text)
A successful response may look like this:
Copy
{
  "success": true,
  "message": "The certificate password is correct!",
  "errors": [],
  "data": {},
  "auth": true
}
If the certificate password is wrong, the response may look like this:
Copy
{
  "success": false,
  "message": "The certificate password is not correct!",
  "errors": [
    "certificatePassword"
  ],
  "data": {},
  "auth": true
}
Part 10: Check the Result
After running the script, open
signed_filepdf.pdf with a PDF viewer. Some browsers may not show digital signature details correctly, so it is better to use Adobe Reader or your operating system PDF viewer.By default, the visible signature may appear near the bottom-left area of the PDF unless you customize its position.

Part 11: Conclusions
In this tutorial, we signed a PDF using Python, a digital certificate, and the PDF Signify API. This approach is practical when you need to add secure digital signatures to invoices, contracts, certificates, or any generated PDF document from a Python application.
For more information, you can visit the following resources:
- GitHub tutorial and code: https://github.com/arnaullfe/python-pdf-digital-signature
- API Documentation: https://api.pdfsignify.com/api/documentation#/
- Examples: https://pdfsignify.com/#examples
- Website: https://pdfsignify.com/